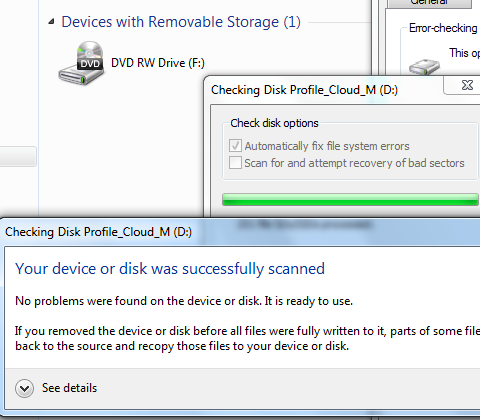
Windows 7 Disk Check
Sometimes, your computer is noticeably slower or programs "hang" when you access certain files. This problem might occur because there are errors on your hard disk drive.
You can troubleshoot the problem by using the Disk Check tool in Windows 7. Disk Check can identify and automatically correct file system errors and make sure that you can continue to load and write data from the hard disk. You can use Disk Check in Windows 7 not only for local hard drives, but also for removable media such as USB memory sticks or memory cards.
Note Please make sure that you close all open programs and files before you start the disk check.
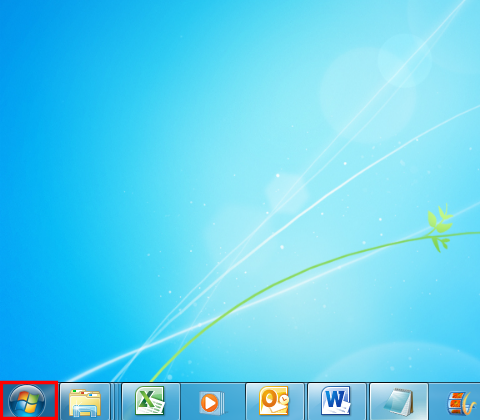
1. Right-click the
Start Windows icon.
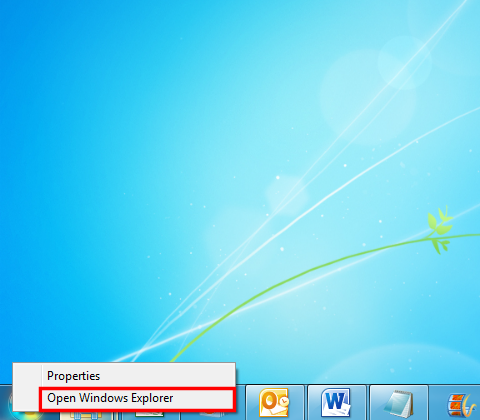
2. In the shortcut menu, click
Open Windows Explorer.
3. In the navigation pane, click
Computer so that your drives appear in the right pane.
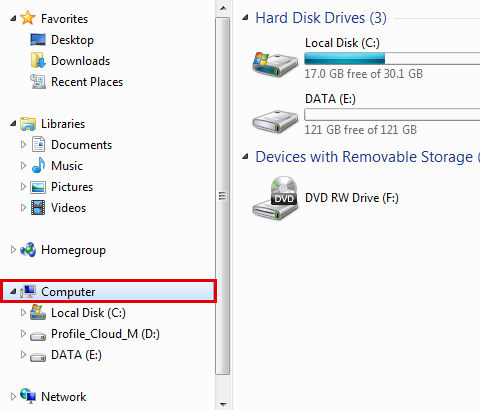
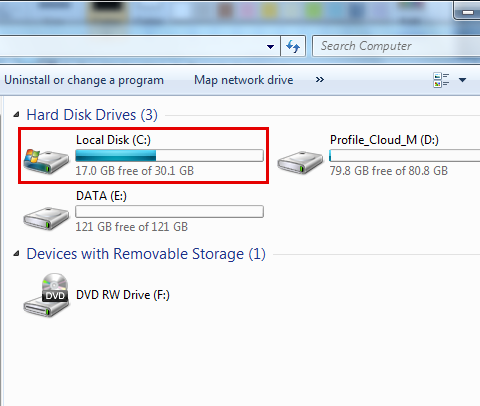
4. Right-click the drive that you want to check.
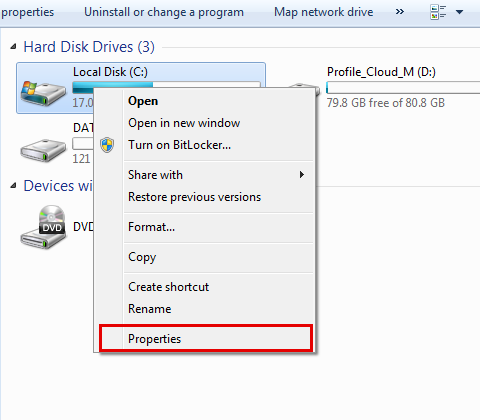
5. Click
Properties.
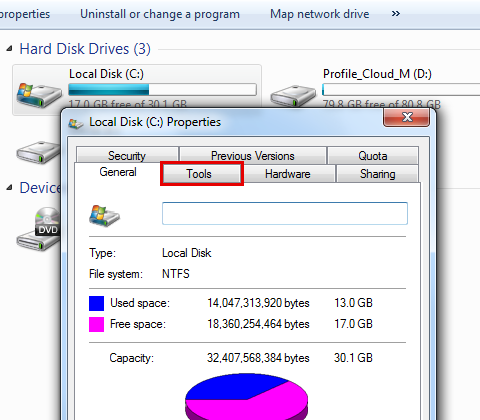
6. Click the
Tools tab.
7. Click the
Check now button.

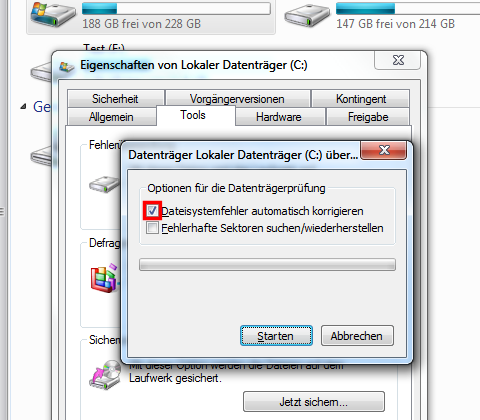
8. In the
Check Disk <disk name> window, select the
Automatically fix file system errors check box.
Note If you want to perform a detailed test of the hard drive, you can select the
Scan for and attempt recovery of bad sectors check box. You should do that in the justified suspicion of existing hardware error in any case. But please note that the operation can then take a long time. For a first routine check, we recommend that you do not select this option.
9. Click
Start.
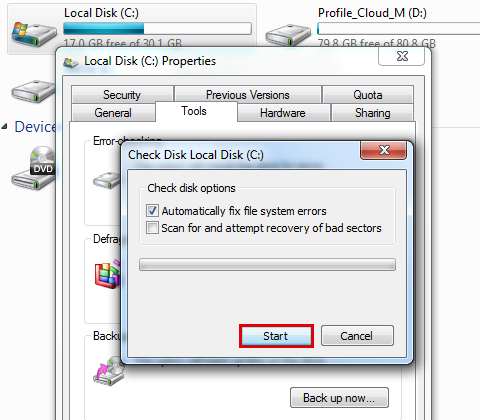
10. If the drive that you want to check is currently in use and it is your system drive, you will see a dialog box with a warning message. In this case, click
Schedule disk check.
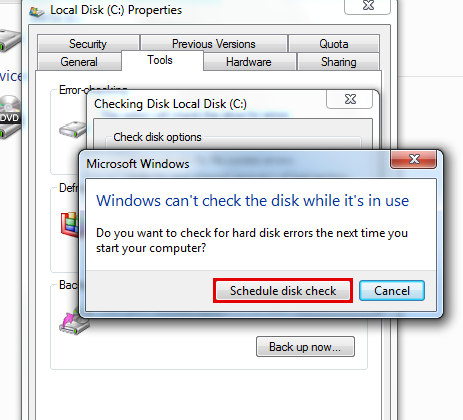
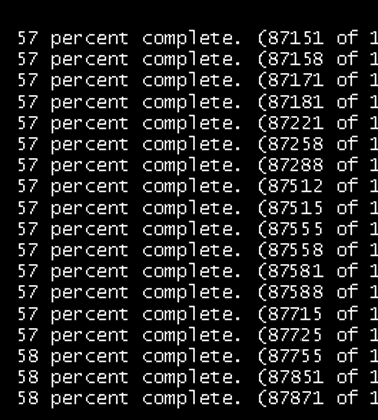
11. Exit all open programs, and then restart your computer. The checking will start automatically before next Windows startup and display the results when completed.
12. If you are not checking the system drive, you do not have to turn off the computer. However, the selected drive may also be in use. In this case, you receive a message. After you have saved all files and close all open programs, click
Force a dismount.
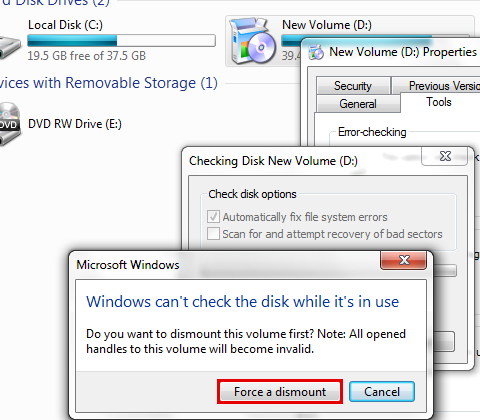
13. The checking starts immediately. After it is completed, the results will be displayed.
